
// getting started
Setting up your first MIG welder.
MIG is the easiest process to learn and the hardest to set up badly without noticing. Get the wire, gas, polarity and dials right and your first bead will look like you've been at it for years. Skip a step and you'll fight spatter, porosity and birdnesting all afternoon. This is the order we'd walk a new welder through it.
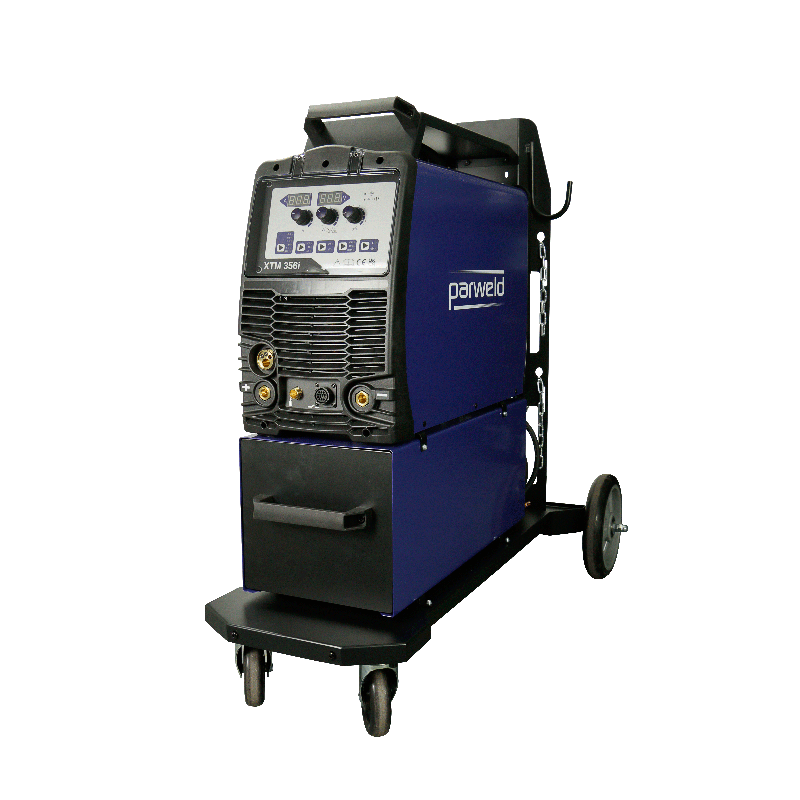
1. Choose your wire
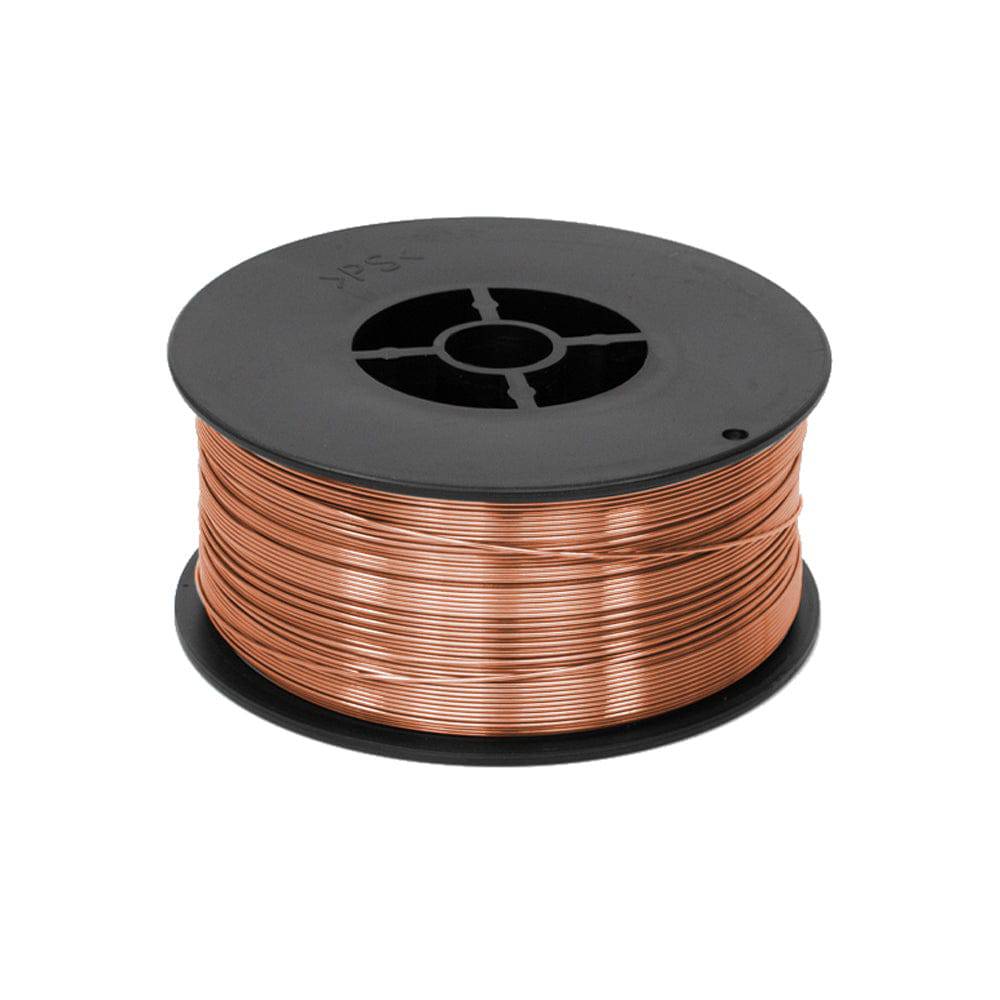
Wire is filler and electrode in one. Match your MIG wire to your material and thickness:
- Mild steel: standard copper-coated SG2 / A18 solid wire. 0.6mm for thin sheet and car-body panels, 0.8mm as the all-round workshop default, 1.0mm for heavier plate.
- Stainless: a matching stainless wire grade like 308LSi or 316LSi, run with the right gas.
- Aluminium: 4043 or 5356 aluminium wire — softer and trickier to feed; a spool gun or PTFE liner helps.
- No gas bottle? Gasless flux-cored wire shields itself and is handy outdoors, but spatters more and needs reversed polarity (see below).
Fit the spool, set the correct drive-roller groove for your wire size, and tension the roller just enough to feed without crushing or slipping.
2. Sort your gas
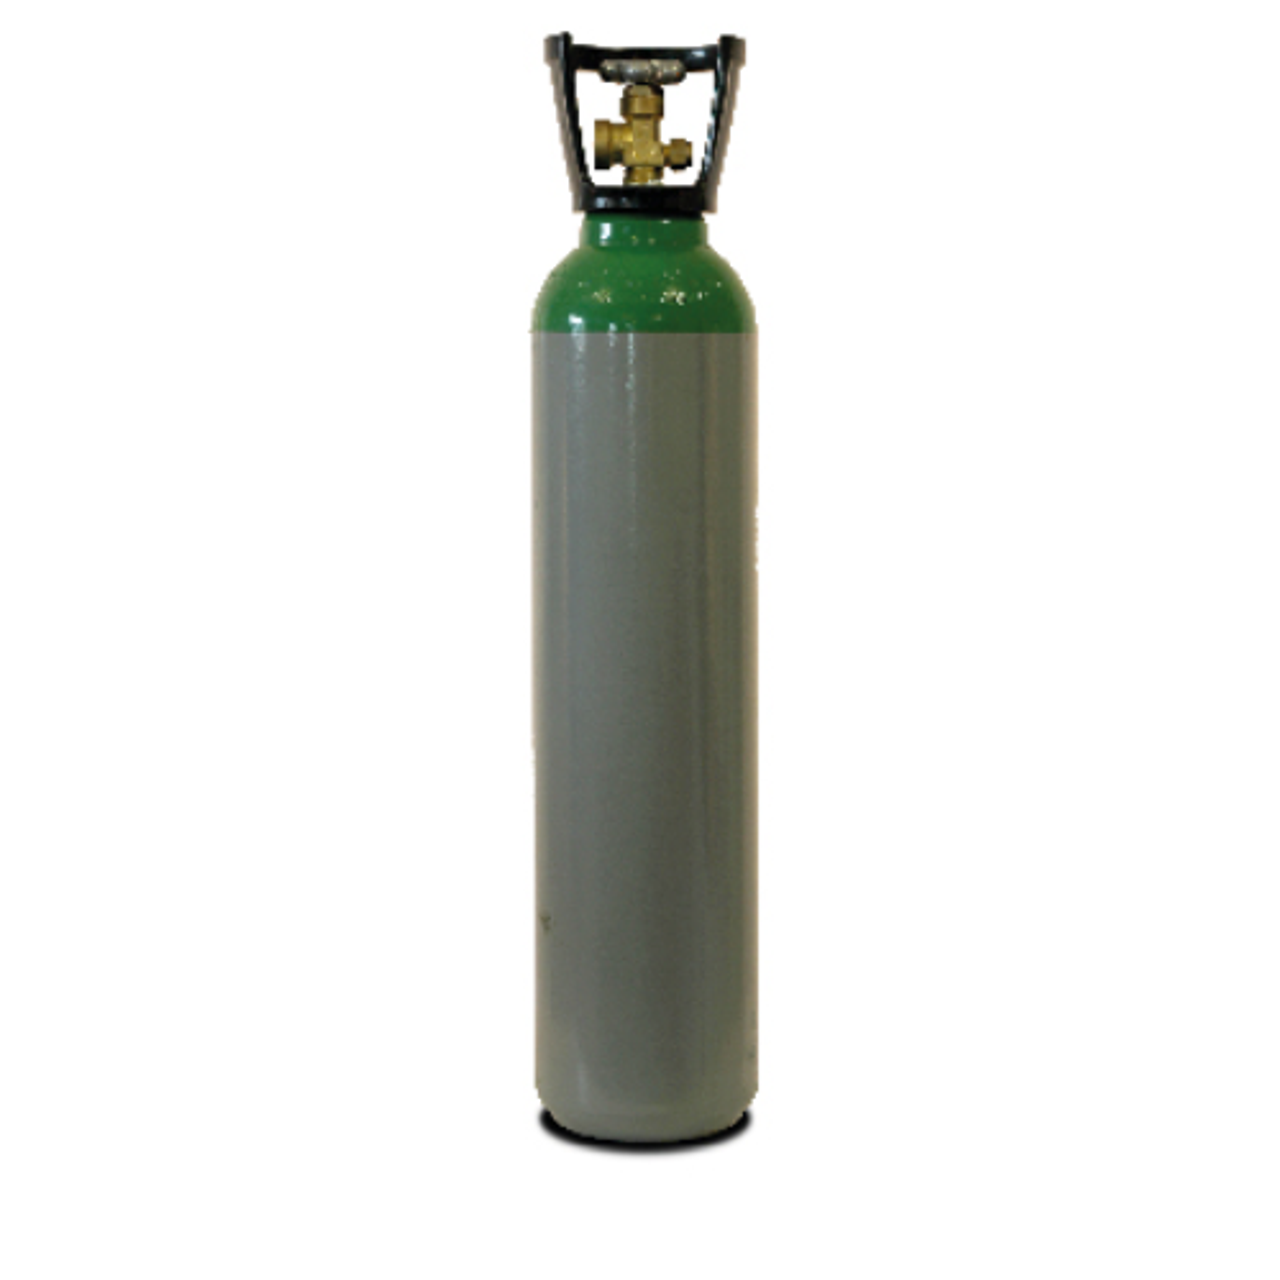
Shielding gas keeps air off the weld pool. The wrong gas, an empty bottle or a draught blowing it away are the top causes of porous, pinholed welds.
- Mild steel: an argon-rich CO2/argon mix (commonly 80/20, sold as A18) for a smooth arc and low spatter. Pure CO2 is cheaper and bites deeper but runs hotter and dirtier.
- Stainless: a stainless-specific tri-mix or argon/CO2 blend.
- Aluminium: pure argon.
Fit a regulator, set the flow to roughly 10–15 litres/min, and turn it down or shield the area if you're working in a breeze.
3. Get the polarity right
This catches a lot of beginners. With solid wire and gas, MIG runs DCEP (electrode positive) — torch lead to the positive terminal, earth clamp to negative. Switch to gasless flux-cored wire and you reverse it to DCEN (electrode negative). Most machines have a simple lead-swap inside; check the chart on the wire packaging if in doubt. Wrong polarity gives a weak, spattery, ropey weld no amount of dial-twiddling will fix.
Earth matters: clamp the earth clamp to clean, bare metal as close to the weld as you can. A poor earth — onto paint, rust or a flaky bench — causes an unstable arc that's easy to blame on the machine.
4. Dial in voltage and wire speed
The two main controls work together. Voltage sets the heat and arc length; wire speed sets how fast filler feeds, which sets the current. Start from the setup chart on the machine or the wire box for your material thickness — that gets you in the right area. Then tune by ear.
A correctly set MIG weld sounds like frying bacon — a steady, even sizzle. Popping and stuttering means too little wire speed (or too much voltage); a harsh crackle with the torch being pushed back means too much wire. Run a few practice beads on scrap and adjust until the sound is smooth and the bead sits flat.
5. Don't skip the PPE
A MIG arc throws intense UV that burns eyes and skin in seconds, plus spatter and fume. Before you strike an arc:
- Auto-darkening welding helmet set to the right shade (around 10–11 for typical MIG amperages).
- Flame-resistant gauntlets and clothing covering all exposed skin — no shorts, no bare forearms.
- Ventilation or fume extraction, plus ear and foot protection.
See the full range on our PPE & safety page — it's not the place to cut corners.
6. Lay your first beads
Hold a roughly 10–15mm stick-out (the wire poking past the contact tip), tilt the torch about 10–15° in the direction of travel, and move at a steady pace. Push (away from the bead) for a flatter, wider weld; drag (towards it) for deeper penetration. Keep practising on scrap of the same thickness until the bead is consistent — then you're welding.
Kit yourself out
Everything to get welding, in stock and ready to ship. A few starting points:
Keep reading
More from the trade counter: consumables — what to stock, the abrasives buying guide, and the full guides hub. Keep your wire and gas in good order with our care & storage guide.